Quick Facts
- Technology Base: Uses object-based audio rather than traditional channel-based tracks to place sound in a 3D space.
- Minimum Requirement: A 5.1.2 configuration is the entry point, requiring five floor speakers, one subwoofer, and two height channels.
- Connectivity: Requires an AV receiver with Atmos decoding connected via HDMI eARC for high-bandwidth metadata transmission.
- Height Options: Listeners can choose between discrete in-ceiling speakers or Atmos-enabled upfiring modules that use reflective surfaces.
- Calibration: Software like Audyssey is essential to handle bass management, speaker distance, and timbre matching.
- Market Trend: A 2024 survey indicates 40% of consumers consider support for spatial audio technologies like Dolby Atmos to be an important factor when buying new gear.
A proper Dolby Atmos setup uses object-based audio to create a 3D soundstage; it requires an Atmos-capable receiver, at least two height channels (x.y.2), and high-speed HDMI eARC cabling for metadata transmission. To achieve optimal results, listener-level speakers should be positioned at ear height, while height channels are added using either in-ceiling speakers or upfiring modules to ensure seamless spatial rendering across the room.
Understanding the 'Z' Axis: Beyond Surround Sound
For decades, we thought about home cinema in two dimensions. We had the length and the width, defined by the 5.1 or 7.1 systems we painstakingly wired into our living rooms. But Dolby Atmos changed the game by introducing the Z-axis: height. This is more than just adding speakers to the ceiling; it is a fundamental shift from channel-based audio to metadata-driven sound.
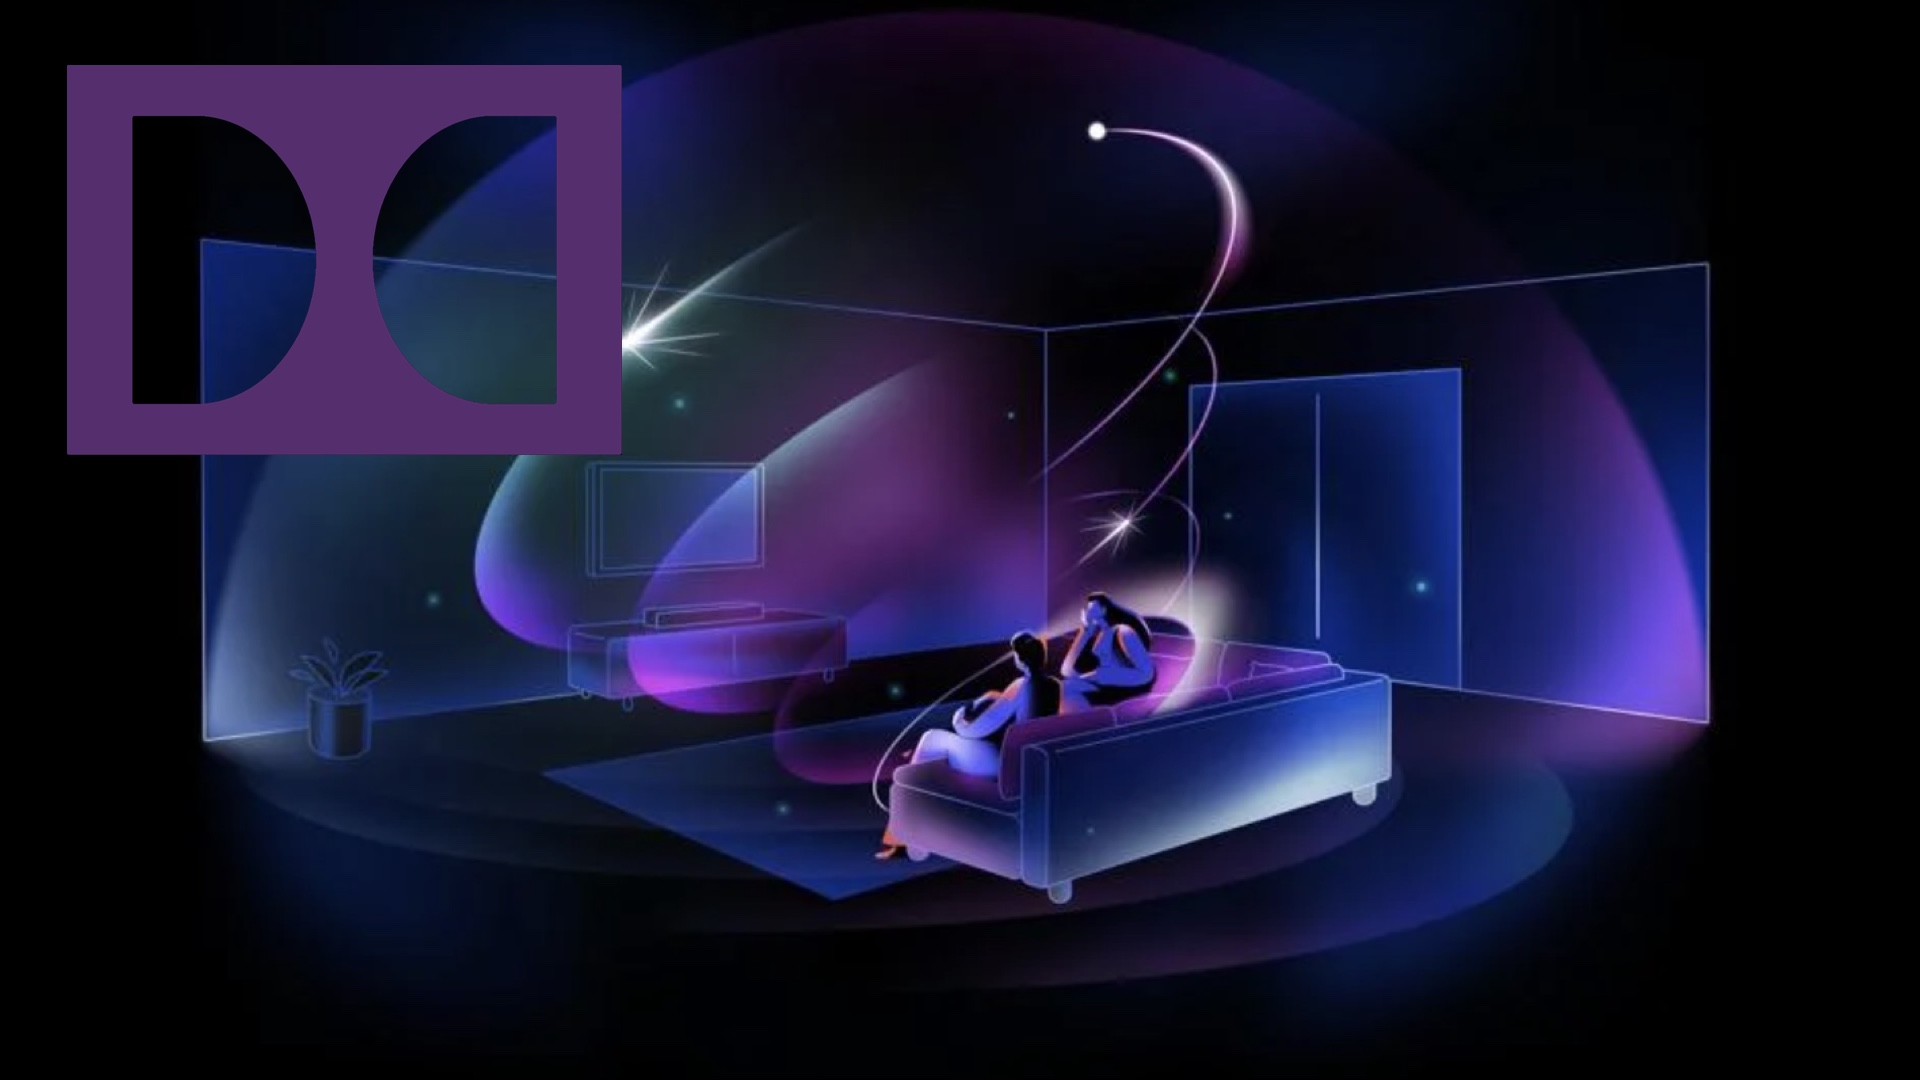
In a traditional setup, a sound engineer decides that a helicopter noise should come out of the rear-left speaker. In a Dolby Atmos setup, that helicopter is treated as an independent audio object. The engineer simply tells the system where the helicopter is in a 3D space and how it moves. Your AV receiver then does the heavy lifting, calculating which speakers to use to recreate that movement in your specific room. This process, known as spatial rendering, is what makes the experience feel so lifelike.
When planning your layout, you will encounter the x.y.z nomenclature. The first number (x) represents the traditional floor-level speakers (front, center, and surrounds). The second number (y) is your subwoofer count. The third number (z) is the most exciting—it represents your height channels. While a 5.1.2 system is the most common for those looking at a Dolby Atmos setup for small living rooms, enthusiasts often aim for a 7.1.4 configuration to create a truly seamless bubble of sound. The goal is to move beyond hearing sound "at" you and start experiencing sound "around" you.
Precision Placement: The Geometry of 3D Sound
The magic of 3D audio relies heavily on geometry. If your speakers are out of alignment, the object-based audio objects will "jump" from one speaker to another rather than gliding through the air. For your base layer, the front left and right speakers should be at ear level, forming an equilateral triangle with your primary listening position.
When we move to height channels, precision becomes even more critical. For those implementing Dolby Atmos speaker placement for 5.1.2 systems, you have two primary choices: in-ceiling or upfiring. In-ceiling speakers are the gold standard for overhead directional accuracy. Ideally, these should be placed slightly in front of the listening position at an elevation angle of 65 to 100 degrees relative to the listener’s ear level.
However, not everyone can or wants to cut holes in their ceiling. This is where upfiring Atmos-enabled speakers come in. These modules sit on top of your existing towers and use reflective surfaces to bounce sound off the ceiling and back down to your ears. For this to work, your ceiling must be flat and made of a hard, reflective material like drywall or plaster. If you have vaulted ceilings or acoustic tiles that absorb sound, upfiring modules will struggle to create that overhead sensation.
| Feature | In-Ceiling Speakers | Upfiring Modules |
|---|---|---|
| Directionality | High (Direct) | Moderate (Reflected) |
| Installation | Complex (Cutting/Wiring) | Easy (Plug-and-play) |
| Ceiling Req. | Any (prefer 7.5-12ft) | Must be flat and reflective |
| Aesthetic | Stealthy/Hidden | Visible on top of speakers |
| Precision | Pinpoint accuracy | Diffuse spatial rendering |
When considering the best height for Atmos enabled speakers, remember that the upfiring drivers should be at or slightly above ear level when you are seated. If they are too low, the reflected sound will lose its focus before it reaches you. Conversely, if they are too high, the angle of reflection might overshoot your seating area entirely.
Regardless of the speaker type, a common home theater height channel setup mistake is placing the height channels too far to the sides. They should align roughly with your front left and right speakers to ensure that as a sound moves from front to back, it stays within a consistent spatial lane.
Technical Configuration and Room Calibration
Once the physical Dolby Atmos speaker placement is finished, the digital work begins. The brain of your system is the AV receiver. To get the most out of modern formats, you must use an HDMI eARC (Enhanced Audio Return Channel) connection. Traditional ARC does not have the bandwidth required to carry the full, uncompressed 24-bit Dolby TrueHD signal found on a 4K Blu-ray source. Without eARC, you might be limited to a compressed version of Atmos, which lacks the dynamic range and clarity audiophiles crave.
The next step is immersive audio room calibration. Most modern receivers come with a microphone and software like Audyssey calibration. This software is vital because it compensates for the "acoustic fingerprints" of your room. It measures speaker distances to the millisecond, ensures timbre matching so that a voice sounds the same coming from the center speaker as it does from a surround, and handles bass management by directing low frequencies to the subwoofer where they belong.
Pro Tip: Manual SPL Targeting After running your auto-calibration, I always recommend double-checking the levels with a digital Sound Pressure Level (SPL) meter. For a balanced Atmos experience, target a reference level where each speaker hits between 79 and 82 dB at the listening position. Pay extra attention to the height channels; often, auto-calibration sets them a bit too quiet. Increasing the height channel gain by 1 or 2 dB can make the overhead effects much more pronounced without overbalancing the mix.
When navigating your AV receiver settings for Dolby Atmos calibration, ensure that your speaker configuration is set correctly (e.g., 5.1.2 or 7.2.4). One of the most common Dolby Atmos setup mistakes to avoid is leaving the receiver in a "Stereo" or "All Channel Stereo" mode. You want to see the words "Dolby Atmos" or "Atmos" on the receiver display. If it says "PCM," your player might be decoding the audio instead of the receiver, which can sometimes lead to a loss of metadata-driven sound height information.
Creating the Perfect Environment
While speakers and electronics are the stars of the show, the room itself is a silent participant in your Dolby Atmos setup. Reflections are the enemy of clarity. If your room has too many hard surfaces—hardwood floors, large windows, bare walls—the sound waves will bounce around and smear the spatial rendering.
You don't need a professional studio, but a few acoustic panels at the first reflection points (the spots on the side walls halfway between the speakers and your chair) can make a world of difference. For the floor, a thick rug is often enough to tame reflections between the front speakers and the listener. If you are using upfiring speakers, remember to keep the area on the ceiling directly above the speakers clear of any fans or light fixtures that could break up the sound path.
Finally, consider your source material. To truly test your immersive audio room calibration, use a high-quality 4K Blu-ray source. Streaming services like Netflix or Disney+ offer Atmos, but it is delivered via Dolby Digital Plus, which is compressed. A physical disc uses Dolby TrueHD, providing a much higher bitrate that allows you to hear the subtle textures in the overhead channels—the pitter-patter of rain or the echoing click of footsteps in a hallway.
FAQ
What equipment is needed for a Dolby Atmos setup?
You need an Atmos-capable AV receiver or soundbar, at least one pair of height speakers (either in-ceiling or upfiring), a playback source that supports Atmos (like a 4K Blu-ray player or a compatible streaming device), and high-speed HDMI cables capable of supporting HDMI eARC.
How many speakers are required for Dolby Atmos?
The minimum requirement for a discrete system is 5.1.2, which totals seven speakers and one subwoofer. This includes front left, front right, center, two surrounds, and two height channels. However, some Atmos-enabled soundbars can simulate this experience with fewer physical boxes using advanced signal processing.
Where is the best place to put Dolby Atmos speakers?
Listener-level speakers should be at ear height. For height channels, in-ceiling speakers should be placed slightly in front of the listener at a 65 to 100-degree angle. Upfiring speakers should sit on top of your front or rear speakers, with a clear line of sight to a flat, reflective ceiling.
Can any soundbar support Dolby Atmos?
No, only soundbars specifically labeled as Dolby Atmos compatible can decode the metadata. Some budget soundbars may claim "3D audio" using virtual processing, but a true Atmos soundbar will typically feature dedicated upfiring drivers or sophisticated spatial rendering technology to create height.
Do I need special HDMI cables for Dolby Atmos?
You do not need "special" Atmos-branded cables, but you do need High-Speed or Ultra High-Speed HDMI cables (HDMI 2.0 or 2.1). These cables provide the necessary bandwidth for HDMI eARC, which is required to pass the full, uncompressed Atmos metadata from your TV or player to your audio system.