Quick Facts
- Cleaning Frequency: Every 1-2nd month to ensure maximum hardware longevity.
- Safe Solvents: Only use 70-90% Isopropyl Alcohol; avoid water or household cleaners.
- Absolute No: Never use metal tools like needles or cotton swabs that leave conductive debris.
- Longevity Gain: High-end laptops can maintain port integrity for 8+ years with regular care.
- Gravity Tip: Always hold the laptop so the port faces downward when using air to let debris fall out.
- Core Tools: Compressed air canisters, anti-static brushes, and modified wooden picks are the gold standard.
To safely clean a laptop's USB port, start by powering off the device to eliminate the risk of electrical shorts. Use short, controlled bursts of compressed air at an angle to dislodge loose debris and lint. For stubborn grime or sticky residue, use a soft-bristle anti-static brush or a lint-free swab lightly dampened with 70% isopropyl alcohol. Ensure the port is completely dry before reconnecting any peripherals or power sources to maintain proper oxidation prevention.
Why Laptop USB Maintenance Matters
In the world of PC hardware, we often obsess over CPU temperatures and GPU clock speeds, but we frequently overlook the physical gateways that connect our machines to the world. Laptop USB maintenance is not just about aesthetics; it is a critical practice for preserving the electrical and mechanical integrity of your motherboard. Over time, these small rectangular or oval openings become magnets for pocket lint, skin oils, and environmental particulates.
The danger of neglect is two-fold: thermal and electrical. Dust acts as an insulator, trapping heat within the connector housing. Furthermore, maintenance experts recommend cleaning laptop ports and vents every one to two months to prevent the accumulation of dust and debris that can lead to overheating and connectivity failure. When a port is clogged, the physical connection becomes loose, leading to data transfer instability and intermittent power delivery.
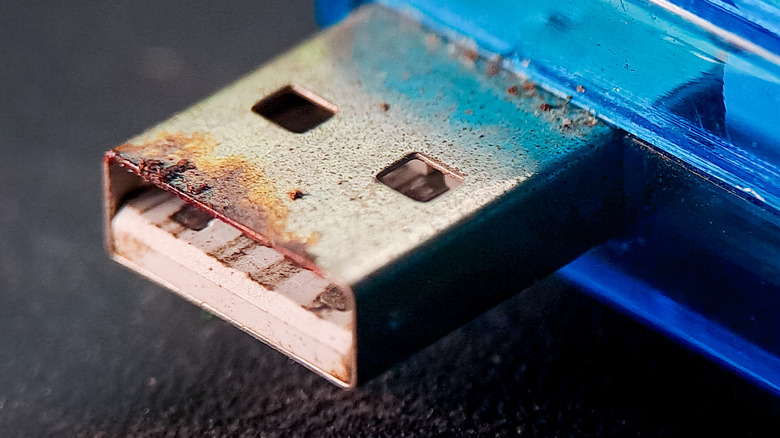
Perhaps more concerning is the role of moisture. Accumulated dust inside laptop ports can retain moisture or static electricity, potentially causing electrical short circuits that damage the motherboard and other sensitive internal hardware. When humidity mixes with microscopic debris, it creates a slightly conductive "bridge" between the tiny pins inside your USB port. In a modern USB-C standard environment, where pins are spaced less than a millimeter apart, a single conductive speck can bridge a 20V power pin to a data line, effectively frying your laptop's controller chip. Proper laptop port maintenance guide practices ensure that you avoid these costly repairs, which often require a full motherboard replacement.
The Essential Tool Kit vs. What to Avoid
Before you reach for the nearest object to poke at your expensive hardware, you need to understand that the internal architecture of a USB port is incredibly delicate. A laptop usb port maintenance for longevity strategy requires precision tools that are non-conductive and residue-free.
Safe Tools for Cleaning Computer USB Ports
- Compressed Air Canisters: These are the first line of defense. They provide high-pressure, non-contact cleaning to move loose particles.
- Anti-Static Brushes: Specifically designed for electronics, these brushes use fibers that do not generate or hold static charges that could jump to the pins.
- Lint-Free Swabs: Unlike standard cotton swabs, these are made of foam or polyester and will not leave behind microscopic fibers that can snag on the internal pins.
- 70-90% Isopropyl Alcohol: This is the only solvent you should use. It dissolves oils and evaporates almost instantly without leaving a film.
- Wooden or Plastic Picks: A standard toothpick, when properly modified, is an excellent non-conductive tool for mechanical cleaning.
Prohibited Tools (The Laptop Killers)
| Tool | Why it’s Dangerous |
|---|---|
| Safety Pins / Needles | Metal is highly conductive and will cause electrical shorts or bend pins. |
| Cotton Balls / Swabs | Leaves behind cotton fibers that are often worse than the original dust. |
| Windex / Water | These contain minerals and chemicals that cause rapid oxidation and corrosion. |
| Vacuum Cleaners | Standard household vacuums generate massive amounts of static electricity at the nozzle. |
Expert Tip: If you are using a toothpick, use a small knife to "shave" the tip into a flatter, thinner wedge. This allows you to reach the narrow gaps in a USB-C port without putting pressure on the central plastic "tongue" that holds the pins.
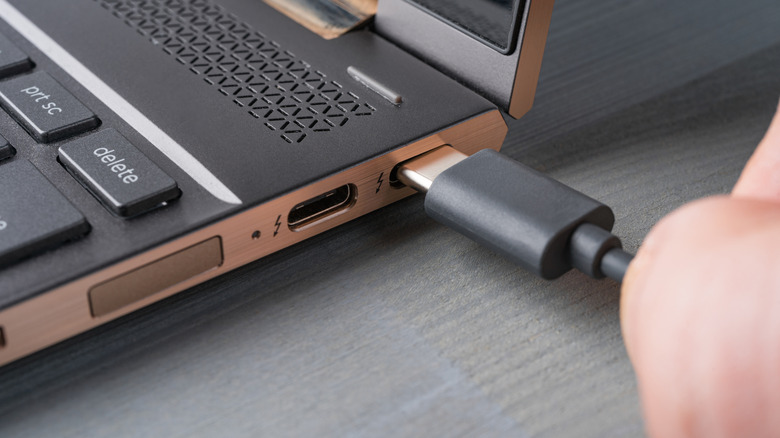
The Escalation Ladder: How to Safely Clean Ports
When you begin the process to clean laptop usb port connections, always start with the least invasive method first. I call this the "Escalation Ladder." Do not use chemicals if air will do the job.
Step 1: Visual Inspection
Before doing anything, use a bright LED flashlight to look inside the port. You are looking for pin damage, compacted lint at the back of the port, or green/white crusty residue which indicates oxidation. If the pins are physically bent or touching each other, do not attempt to clean them; take the laptop to a professional.
Step 2: Non-Contact Cleaning (Air)
Hold your laptop so the port is facing toward the floor. This allows gravity to assist the cleaning process. Take your compressed air canisters and deliver short, 1-to-2 second bursts. Do not hold the trigger down for long periods, as the can will get cold and may spray liquid propellant (bitterant) into the port. Move the nozzle in a "sweeping" motion from one side of the port to the other.
Step 3: Mechanical Cleaning (The Pick)
If you see a "felt-like" layer of lint at the back of the port that air won't move, it’s time for mechanical intervention. Using your shaved wooden pick, very gently reach into the corners of the port. For the USB-C standard, remember that the pins are on a central wafer. You must clean the space around the wafer, not the wafer itself. Gently "hook" the lint and pull it outward. Avoid any "scrubbing" motion that might scrape the gold plating off the pins.
Step 4: Chemical Restoration (Alcohol)
For removing corrosion from laptop usb connections or sticky residue (like a spilled soda), dampen a lint-free swab with isopropyl alcohol. It should be damp, not dripping. Insert the swab and use a gentle in-and-out motion against the sides of the port. For the pins themselves, use a dedicated anti-static brush dipped in alcohol to lightly flick away oxidation.
Protection Tips: Beyond Cleaning
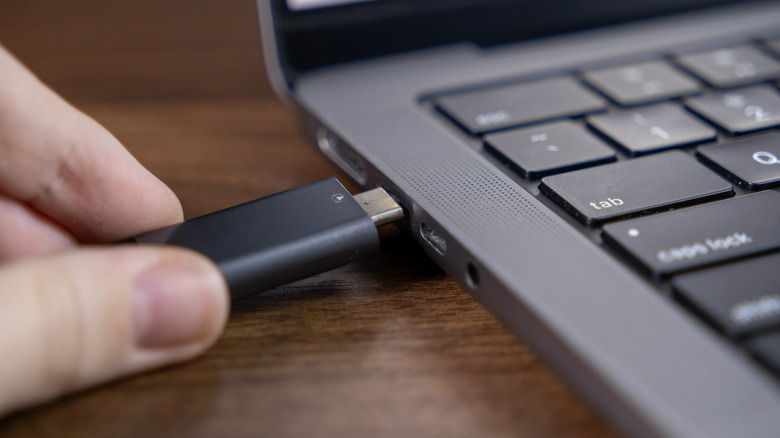
Once your ports are pristine, the goal shifts to prevention. Using proactive usb port protection tips can extend the life of your device significantly.
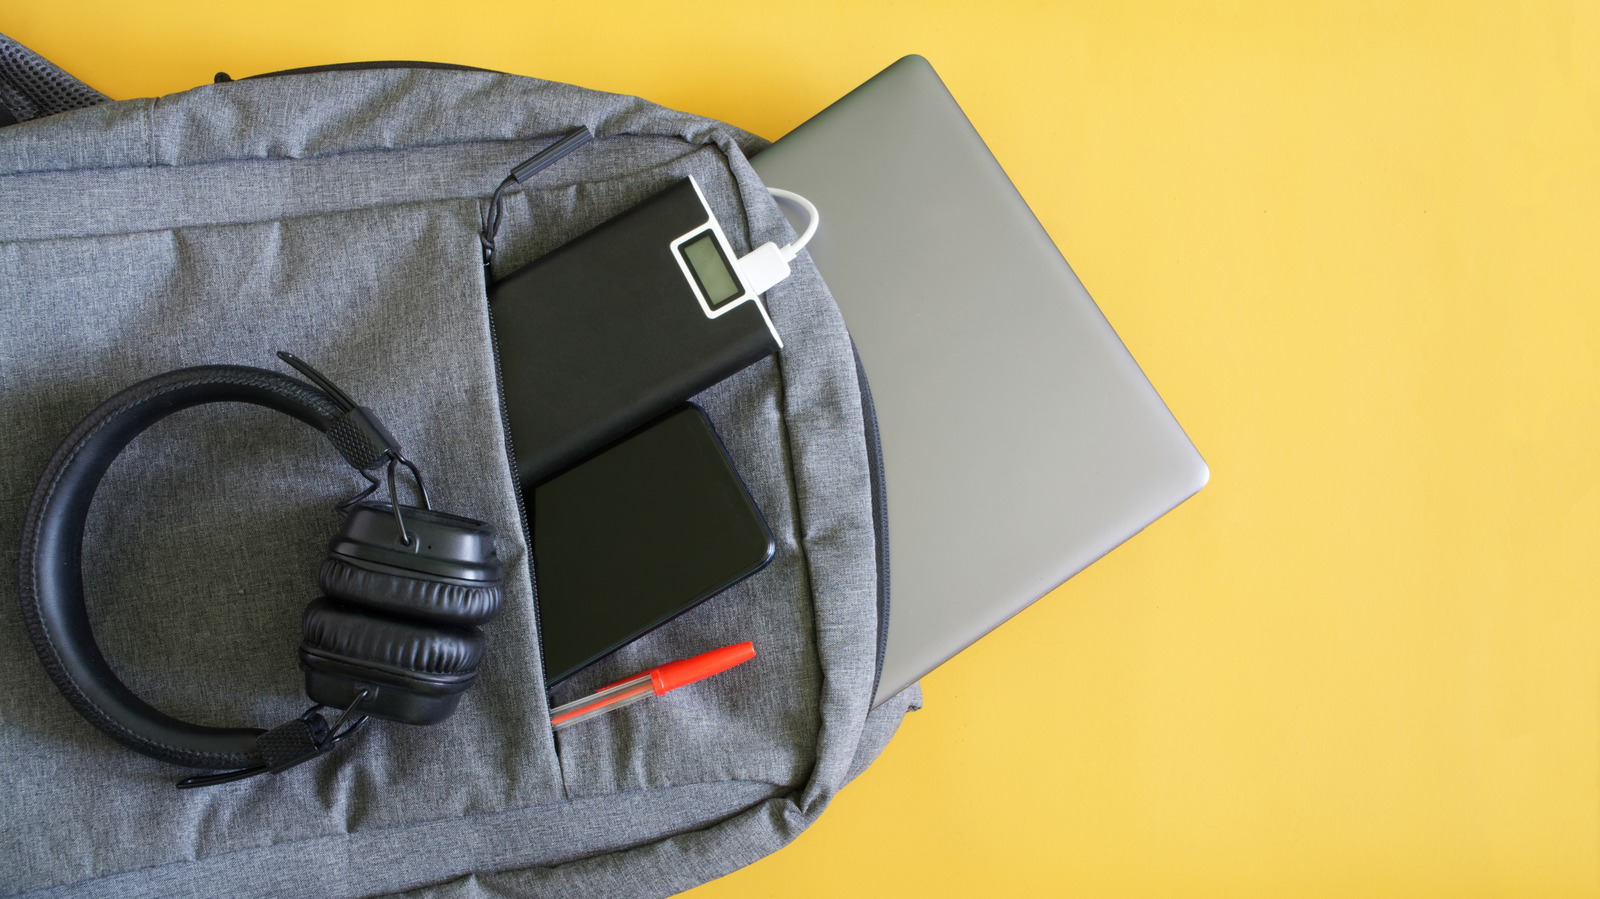
First, consider the environment. If you frequently work in coffee shops, outdoors, or carry your laptop in a backpack, the ports are constantly exposed to debris. Investing in the best dust plugs for laptop usb-c ports is a cheap and effective solution. These are small silicone port covers that sit flush with the laptop chassis, creating a physical barrier against lint and moisture.
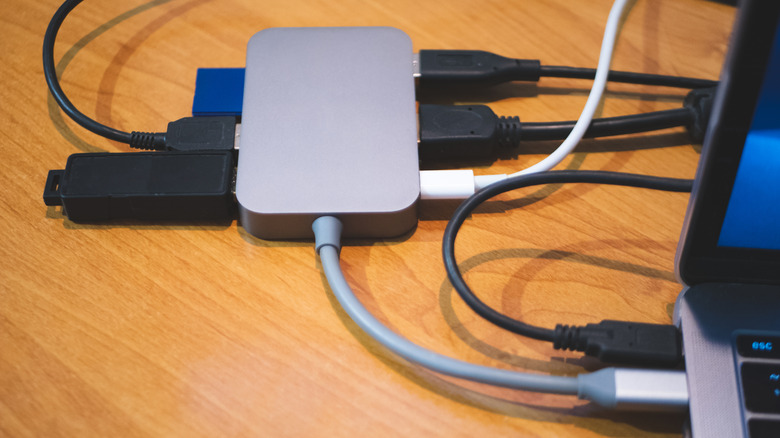
Second, think about mechanical wear. Every time you plug and unplug a device, you are wearing down the friction-fit pins. If you use your laptop at a desk with multiple peripherals, use a high-quality, powered USB hub. By plugging your mouse, keyboard, and external drive into the hub, you only have to plug one cable into your laptop. This hub acts as a "port saver," taking the brunt of the daily mechanical strain so your motherboard ports don't have to.
Finally, prioritize cable quality. Only use certified cables from reputable brands. Cheap, uncertified cables often have poor tolerances; they may be slightly too large, causing the port to "stretch" over time, or they may have rough metal edges that scratch the internal pins of your laptop. For high-wattage applications like USB-C Power Delivery, a sub-standard cable can even overheat the port, leading to permanent plastic deformation.
FAQ
How do I clean dust out of a laptop USB port?
The safest method is using compressed air canisters while holding the laptop upside down. This allows the air to dislodge the dust and gravity to pull it out of the port. For any remaining debris, a non-conductive wooden or plastic pick can be used to gently hook and remove the material without touching the sensitive pins.
Is it safe to use a toothpick to clean a USB port?
Yes, a wooden toothpick is safe because it is non-conductive, meaning it won't cause an electrical short. However, you should use a hobby knife to shave the tip into a thin, flat wedge so it can fit into the narrow spaces of a USB-C port without putting pressure on the central pin wafer.
Can a dirty USB port cause a laptop to malfunction?
Absolutely. Debris can prevent a full physical connection, leading to data errors or slow charging. More seriously, dust can trap moisture and cause electrical shorts that may permanently damage the laptop's motherboard. If the port feels "mushy" when you plug something in, it is likely filled with compacted lint.
How can I fix a USB port that stopped working?
First, perform a visual inspection to see if there is any visible debris or bent pins. If the port is dirty, follow the escalation ladder of cleaning with air and isopropyl alcohol. If the port is clean but still doesn't work, try a different cable or restart the laptop to rule out software issues. If physical damage is visible, professional repair is required.
What tools are safe for cleaning laptop ports?
The safest tools include compressed air, anti-static brushes, lint-free foam swabs, and 70% or higher isopropyl alcohol. You can also use non-conductive picks made of wood or plastic. Avoid all metal tools, household cleaning liquids, and standard cotton-tipped swabs that leave fibers behind.
Final Thoughts on Hardware Longevity
Maintaining your laptop's USB ports is a small task that pays huge dividends in the long run. By incorporating a monthly check-up into your routine, you ensure that your data transfers remain fast and your power delivery stays stable. Remember, your laptop's ports are the primary way it interacts with other hardware—treat them with the same respect you give your screen or keyboard. Stay away from metal tools, keep the alcohol high-percentage, and use dust covers when you're on the move. Your motherboard will thank you for it.