Quick Facts
- Threshold: A water concentration of just 0.5% is enough to trigger phase separation in ethanol-blended fuel.
- Cost: A DIY fuel quality test using the mason jar method costs under $5.
- Settling Time: You must let the sample sit for 15 to 60 minutes to allow fuel density to stabilize.
- Repair Risk: Contaminated fuel can lead to system repairs costing between $1,000 and $10,000.
- Performance Hit: Phase separation typically causes a loss of 2 to 3 points in the octane rating of the fuel.
- Failure Rate: Statistics show that over 25% of diesel generator breakdowns are caused by poor fuel quality rather than mechanical issues.
To perform a fuel quality test, siphon a small sample of gasoline from the bottom of your tank or fuel-water separator into a clear glass jar. Seal the jar and let it sit undisturbed for 15 to 60 minutes on a level surface. Inspect the sample for distinct layers; because gasoline is less dense than water, any water or ethanol-water mix will settle at the bottom, indicating contamination or phase separation.
Symptoms of Bad Fuel: When to Test
We have all been there—you turn the key, the engine cranks, but the roar you expect is replaced by a ragged sputter. Identifying water in gas symptoms early can be the difference between a simple tank drain and a total engine overhaul. When water enters the combustion chamber, it does not compress or burn like gasoline. This leads to immediate engine hesitation and a noticeable loss of power, especially under load.
If you are driving and notice your vehicle sputtering during acceleration or experience sudden stalling at stoplights, you should consider a fuel quality test. These issues often stem from the fuel pump picking up pockets of water instead of pure gasoline. For modern vehicle owners, the dashboard may provide the first clue. Check for a Malfunction Indicator Lamp (Check Engine Light) and use an OBD-II scanner to look for specific codes. You will often see P0171 or P0174, which indicate a lean mixture because the water is displacing the combustible fuel, or P0300, which signifies random cylinder misfires.
In the most extreme scenarios, you might encounter hydrolocked engine symptoms from bad gas. This occurs when a significant amount of water enters the cylinder. Since liquids are incompressible, the piston hits a "wall" of water on the upward stroke. This can result in catastrophic internal damage such as bent connecting rods or a cracked engine block. While high-quality gasoline typically maintains a natural water content between 0.008% and 0.1%, vehicle engines often begin to experience performance and response problems once water levels exceed 0.2%. If your car feels sluggish or "hiccups" frequently, it is time to check for symptoms of water in car gas tank.
The Science of Phase Separation in Gasoline
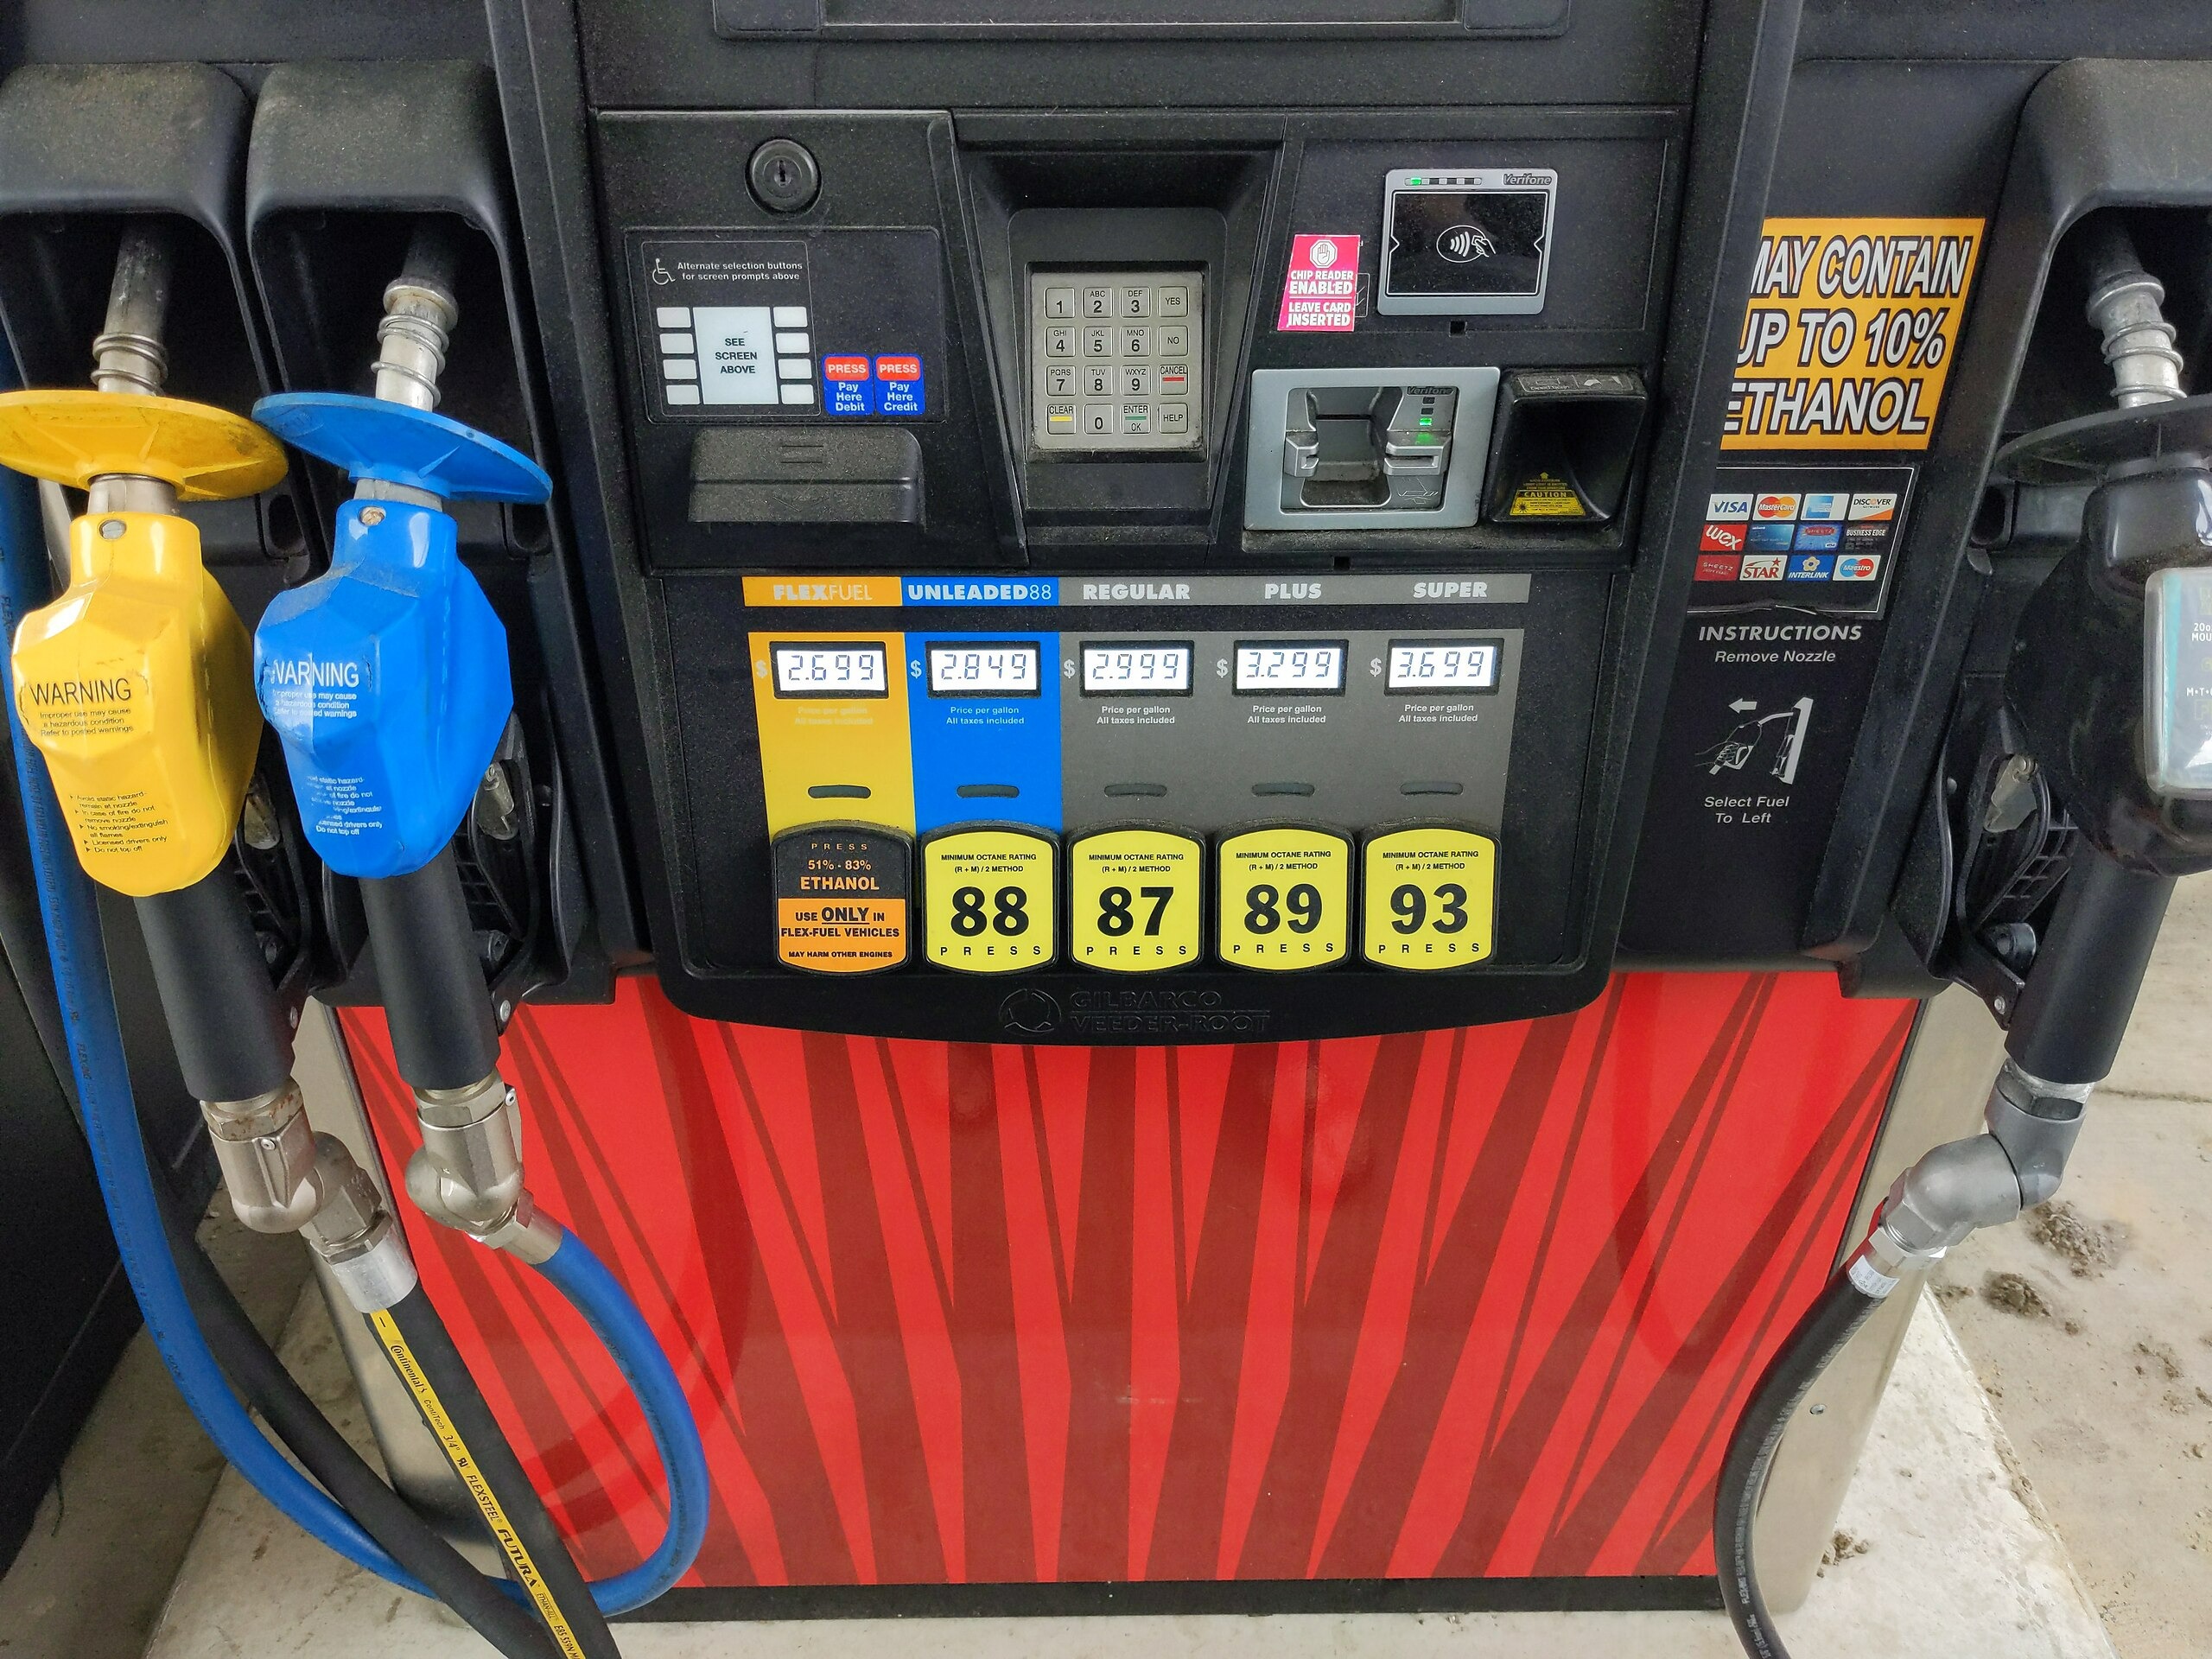
To understand why a fuel quality test is so critical, we need to look at the chemistry of modern ethanol-blended gasoline. Most fuel sold today contains up to 10% ethanol (E10). Ethanol has hygroscopic properties, meaning it acts like a sponge, actively pulling atmospheric moisture from the air into the fuel. As long as the water content remains low, the ethanol holds the water in suspension within the gasoline.
However, there is a breaking point known as the saturation point. When the fuel absorbs enough water—usually around 0.5% by volume—the ethanol and water molecules bond together and become too heavy to stay suspended. This causes the mixture to drop out of the gasoline, creating a distinct layer at the bottom of the tank. This chemical divorce is what we call phase separation in gasoline.
Once phase separation occurs, the remaining gasoline at the top loses its ethanol content. Since ethanol is used as an octane booster, the remaining fuel suffers significant octane degradation, often dropping 2 to 3 points. This can cause engine knocking and long-term valve damage. Meanwhile, the dense sludge at the bottom is highly corrosive. If this ethanol-water mix reaches your fuel injectors, it can cause fuel system corrosion and lead to expensive repairs. For diesel owners, the stakes are even higher, as repairs for diesel systems often exceed $1,000 and sometimes reach over $10,000 depending on the vehicle type.
How to Do a Mason Jar Fuel Test: Step-by-Step
Performing a mason jar gas test is a low-cost, high-reliability way to verify your fuel health. We recommend performing this test in a well-ventilated area away from any open flames or sparks. You will need a clean, dry, clear glass mason jar (about 16 to 32 ounces), chemical-resistant gloves, and a manual siphon pump.
- Access the Fuel: The most accurate sample comes from the bottom of the tank, where water and contaminants naturally settle. If your vehicle has a fuel-water separator, use the drain valve to collect the sample. If not, use a siphon tube to reach the lowest point of the fuel tank.
- Collect the Sample: Fill the mason jar about three-quarters full. It is important to use glass rather than plastic, as some plastics can react with gasoline or cloud up, making visual signs of gasoline phase separation harder to see.
- Seal and Stabilize: Tightly screw the lid onto the jar. This prevents atmospheric moisture from entering the sample during the test and keeps hazardous fumes contained.
- The Settling Period: Place the jar on a level, vibration-free surface. We must allow the sample to sit undisturbed for 15 to 60 minutes. This wait is crucial for fuel density to equalize, allowing any suspended water droplets to merge and sink.
- Observe: After the hour has passed, hold the jar up to a light source.
During the test, keep an eye out for identifying clear layers in fuel samples. If the fuel is healthy, it should look uniform from top to bottom. If you see a "bubble" or a distinct line near the bottom, you have confirmed a contamination issue.
Interpreting Your Results: Clean vs. Contaminated
Knowing how to do a mason jar fuel test is only half the battle; you must also know what the visual cues are telling you. Use the following table to categorize your fuel quality based on your observations.
| Visual Appearance | Condition | Required Action |
|---|---|---|
| Clear and Bright | Good | No action needed. Fuel is healthy. |
| Hazy or Cloudy | Warning | Water is in suspension. Add a fuel stabilizer or dryer. |
| Distinct Bottom Layer | [CRITICAL] | Phase separation has occurred. Tank must be drained. |
| Dark or Amber Color | Degraded | Fuel is old and has oxidized. Do not use in high-performance engines. |
| Black Specks/Sludge | [CRITICAL] | Microbial contamination or tank rust. Professional cleaning required. |
Beyond the visual check, use your nose. While all gasoline has a strong odor, a "rotten egg" or extremely sour smell often indicates microbial contamination. This happens in diesel and ethanol fuels when bacteria grow at the interface where fuel meets water. If you see visual signs of gasoline phase separation accompanied by this smell, the fuel system likely has a biological growth that will quickly clog filters.
If you find distinct layers, do not attempt to "shake" the fuel back together. Once the ethanol has separated, it cannot be permanently recombined through agitation. The only safe way to protect your engine is to remove the contaminated layer or drain the tank entirely.
Prevention and Remediation Strategies
The best way to deal with bad gas is to prevent it from ever entering your system. Since moisture is the enemy, preventing water in gasoline during storage is your first line of defense. We always suggest keeping your fuel tank as full as possible, especially if the vehicle will sit for more than a week. A full tank leaves less room for air, which minimizes the amount of atmospheric moisture that can condense on the tank walls.
If you are storing a vehicle or equipment for the winter, use high-quality fuel stabilizers. These chemical additives help slow down the oxidation process and can help prevent the ethanol from absorbing water. For mild cases of moisture, products like Mechanic in a Bottle or other fuel dryers can help safely move small amounts of water through the combustion process.
However, if your mason jar gas test reveals a heavy layer of water, chemical additives won't be enough. In these cases, professional tank remediation is necessary. A professional fuel polishing or tank cleaning service typically costs between $300 and $800. While that might seem steep, it is a bargain compared to the $10,000 price tag of a ruined common-rail diesel injection system or a replacement engine.
FAQ
How do you check the quality of fuel?
You can check fuel quality by performing a visual inspection using the mason jar method to look for clarity and phase separation. Additionally, checking for a sour or "spoiled" smell can indicate oxidation or microbial growth. For a more technical assessment, using a fuel paste on a dipstick can detect the exact level of water at the bottom of a storage tank.
Can I test fuel quality at home?
Yes, you can test fuel quality at home for less than $5 using a clear glass jar and a siphon. By allowing a fuel sample to settle for an hour, you can easily identify if water has separated from the gasoline. This DIY method is highly effective for identifying major contamination before it damages your engine.
What are the signs of poor fuel quality in a vehicle?
The most common signs include engine hesitation, sputtering when you press the gas pedal, and frequent stalling. You may also notice a significant drop in fuel economy or hear "pinging" sounds from the engine, which indicates that the octane rating has dropped due to phase separation or age.
Why is fuel quality testing important for engines?
Testing is vital because contaminated fuel is a leading cause of expensive mechanical failures. It helps prevent fuel system corrosion, clogged injectors, and catastrophic issues like a hydrolocked engine. Regularly checking fuel quality ensures that your engine receives the correct octane levels required for efficient combustion and long-term reliability.
Final Thoughts on Fuel Health
Maintaining your vehicle's health goes beyond oil changes and tire rotations. By mastering the fuel quality test, you take control of the very lifeblood of your engine. Whether you are troubleshooting a lawnmower that won't start or protecting a high-performance truck, the mason jar method provides the clarity you need to make informed decisions. Stay vigilant, watch for those early water in gas symptoms, and never ignore a hazy fuel sample. Your engine—and your wallet—will thank you.